The Kingfisher Project...
A recent blog gave an example of “object removal” in Photoshop and my facebook page saw some interesting conversations around image editing in terms of what is or isn’t acceptable. In the interests of full transparency, this blog will look at some of my own images and the whole process I went through over a four week period earlier this year as I tried to get a decent image of a kingfisher.
Before going any further, please let me make it clear that I am not a pro photographer. I am a self-taught amateur and in no way should my words be taken as gospel - I am merely sharing based on my own experiences, studies and results. I have done photography work previously - food photography for restaurants, portraiture, landscapes that have been published and I do have some qualifications(such as a Licentiate from the Royal Photographic Society) but at the end of the day I’m just a keen hobbyist who is short, fat and travels when it’s allowed.
Anyway, just below you can see one of the first kingfisher images I took (15th February 2020) followed immediately by one of the last images, taken one month later on 15th March. Hopefully you can see some improvement over the course of the month - four elements contributed to that improvement: practice, patience, luck and equipment.
I have been asked recently about “camera settings” when I take images. I will share those on a few of these images, but would urge a note of caution - my settings will be based on available light at the time I shoot, so consequently those settings would not produce the same results under different light conditions. Also, the editing process affects the final image in a number of ways, largely rendering the initial settings meaningless. However, they may be a useful starting point and give a degree of insight, so I’m happy to share.
To understand lighting and exposure, then I would hugely recommend the following book for anyone keen on photography - Understanding Exposure, Fourth Edition: How to Shoot Great Photographs with Any Camera
I refer to three technical terms below - ISO, shutter speed and aperture. ISO refers to the sensor sensitivity to light, shutter speed to how quickly your shutter opens/closes to allow light to reach the sensor and aperture, which refers to the size of the opening that allows light through your lens and to the sensor. These three elements make up the “exposure triangle”. The book mentioned above goes into more detail, although there it is referred to as the “photographic triangle”. Understanding how each element has an effect on your final image is important if you are keen to progress your photography.
OK, lets start with one of my early images and then one of the final ones

This was taken on 15 February 2020 - 7.33am, to be precise! It is a RAW image, totally unedited. Straight as the camera took it. The settings were ISO 1250, 1/320 shutter speed and aperture of f4. The focal length was 560mm, a combination of a 400mm lens and a 1.4x extender (apologies of that’s a bit technical).
RAW files have no editing applied, either in or out of camera. To produce a jpeg, the file format most of us are familiar with, requires a level of processing - usually performed in camera using inbuilt software - this process goes on largely unknown to the user. Most professionals use RAW format then apply their own editing. This gives greater control to the photographer when it comes to producing the final image. I can talk more about this, but it does get technical and may be boring to many - but hopefully this gives some insight into the process.

This image was taken one month later, on 15th March (8.39am). Hopefully this image is immediately more appealing than the previous one. The settings were ISO 1600, shutter speed 1/3200 and aperture of f4. The high ISO and wide aperture allowed for a very fast shutter speed, important in images of this nature.
So, what contributed to the improvement? Practice, patience, luck and equipment. Let me touch briefly on each of those factors.
Practice. Four weeks had passed, four trips to the park. Four weeks of looking at my images after each visit, looking for flaws, trying to work out how to improve. Part of this included the editing process. I shall touch on editing later.
Patience. I struggle with this, but it is needed in many genres of photography - street, landscapes, wildlife etc. You need to wait for the right light or the right moment, as in this image. The kingfisher had dived into the water a few times, so I set the camera up to focus on a likely spot, then used “rapid fire” mode to try and capture a decent moment of action. I got lucky, these beauties are so quick you just have to hope at times. I had been by this pond for 2 hours, waiting for a shot like this - many pro birders will wait far longer. Patience can also be needed in the editing process.
Luck. Will the light be right? Will the bird go where I want it to? Will I time the shot correctly? Practice clearly helps, but that final element of luck is needed. On my first visit, the kingfisher was based on a branch hidden away under a tree - on my last visit, hos favourite perch was on the side of a well-lit pond. Luck.
Equipment. This was shot on burst mode with a shutter speed of 1/3200 (one 3,200th of a second) and a focal length of 560mm with the camera set on a heavy tripod and a cable release used, to minimise camera shake. As yet, cannot do that on a smartphone. I would include editing software in this category.
So, back to the project, let me give some more background. It all started back in January/February when I saw some images on a local nature group facebook page - they were photographs of a common kingfisher taken in a local park here in Singapore. Whenever I’ve had the opportunity to see a kingfisher before, I always found them to be too far away or too fast for me to get any sort of decent image. But these photographs inspired me to have another go.
So, one Saturday morning I got up early, took my camera and tripod and toddled off to the park where the kingfisher had taken up temporary residence. I had checked online and discovered they were migratory birds, common in Singapore from August to March. I figured I should at least be able to see them, if not get a decent shot.
I arrived at the park just after sunrise and saw a couple of photographers already set up on a small footbridge, so I wandered off to join them. Now, bird photography isn’t something I’ve had much practice in, so my hopes were not high. But I set my equipment up and, with the help of the other photographers, spotted the little bird tucked away on a branch - and ended up with a collection of shots along the lines of the first one posted above.
OK, lets break up the babble with another image…

ISO 400, 1/200, f4. Focal length 560mm. The bird was stationary, so a slower shutter speed was fine. One of the downsides of increasing ISO is that it leads to “noise” in the image (similar to grain in film days).
The above image was shot on 7th March and the result you see was achieved after a fair degree of editing. The “Straight Out Of Camera”(SOC) image is posted below. I have no qualms around the editing done to achieve the final image - my photograph, my vision of how I wish to present my shot. As mentioned earlier, shooting in RAW allows me to bypass editing that would have otherwise been performed in-camera by it’s own software in order to produce a jpeg file. So editing happens anyway, wither by the camera or me - I prefer to control the process. OK, so how did the above image look, SOC..?

So, here it is - the previous image with zero editing applied. My editing process is relatively simple and all done in Lightroom. Again, apologies for the technicals, but my workflow is essentially this…
Enable Profile correction (an automatic adjustment based on the lens used - a “one tick” adjustment, Lightroom is programmed with individual lens characteristics)
Crop - to achieve a more pleasing composition - here, for example, I cropped to remove the annoying little stump
Colour profile - changed to “landscape”, basically enhances colours
White Balance - changed to daylight. One of the benefits of shooting in RAW is the ability to change white balance in the editing process
Tone - I often start with “auto” then tweak individual elements such as brightness, contrast, tone, shadows, highlights and saturation until I’m happy with the result
If needed, I will do some “noise reduction” on high ISO shots
That may sound a lot, but in reality takes. couple of minutes on simple images such as this one.
OK, apologies for the technical discussions, but hopefully of some interest to a number of readers. I think I’ll leave the technical discussions there for now - but happy to go into more depth on future blogs if enough interest.
Until then, I’ll throw out some more kingfisher snaps!
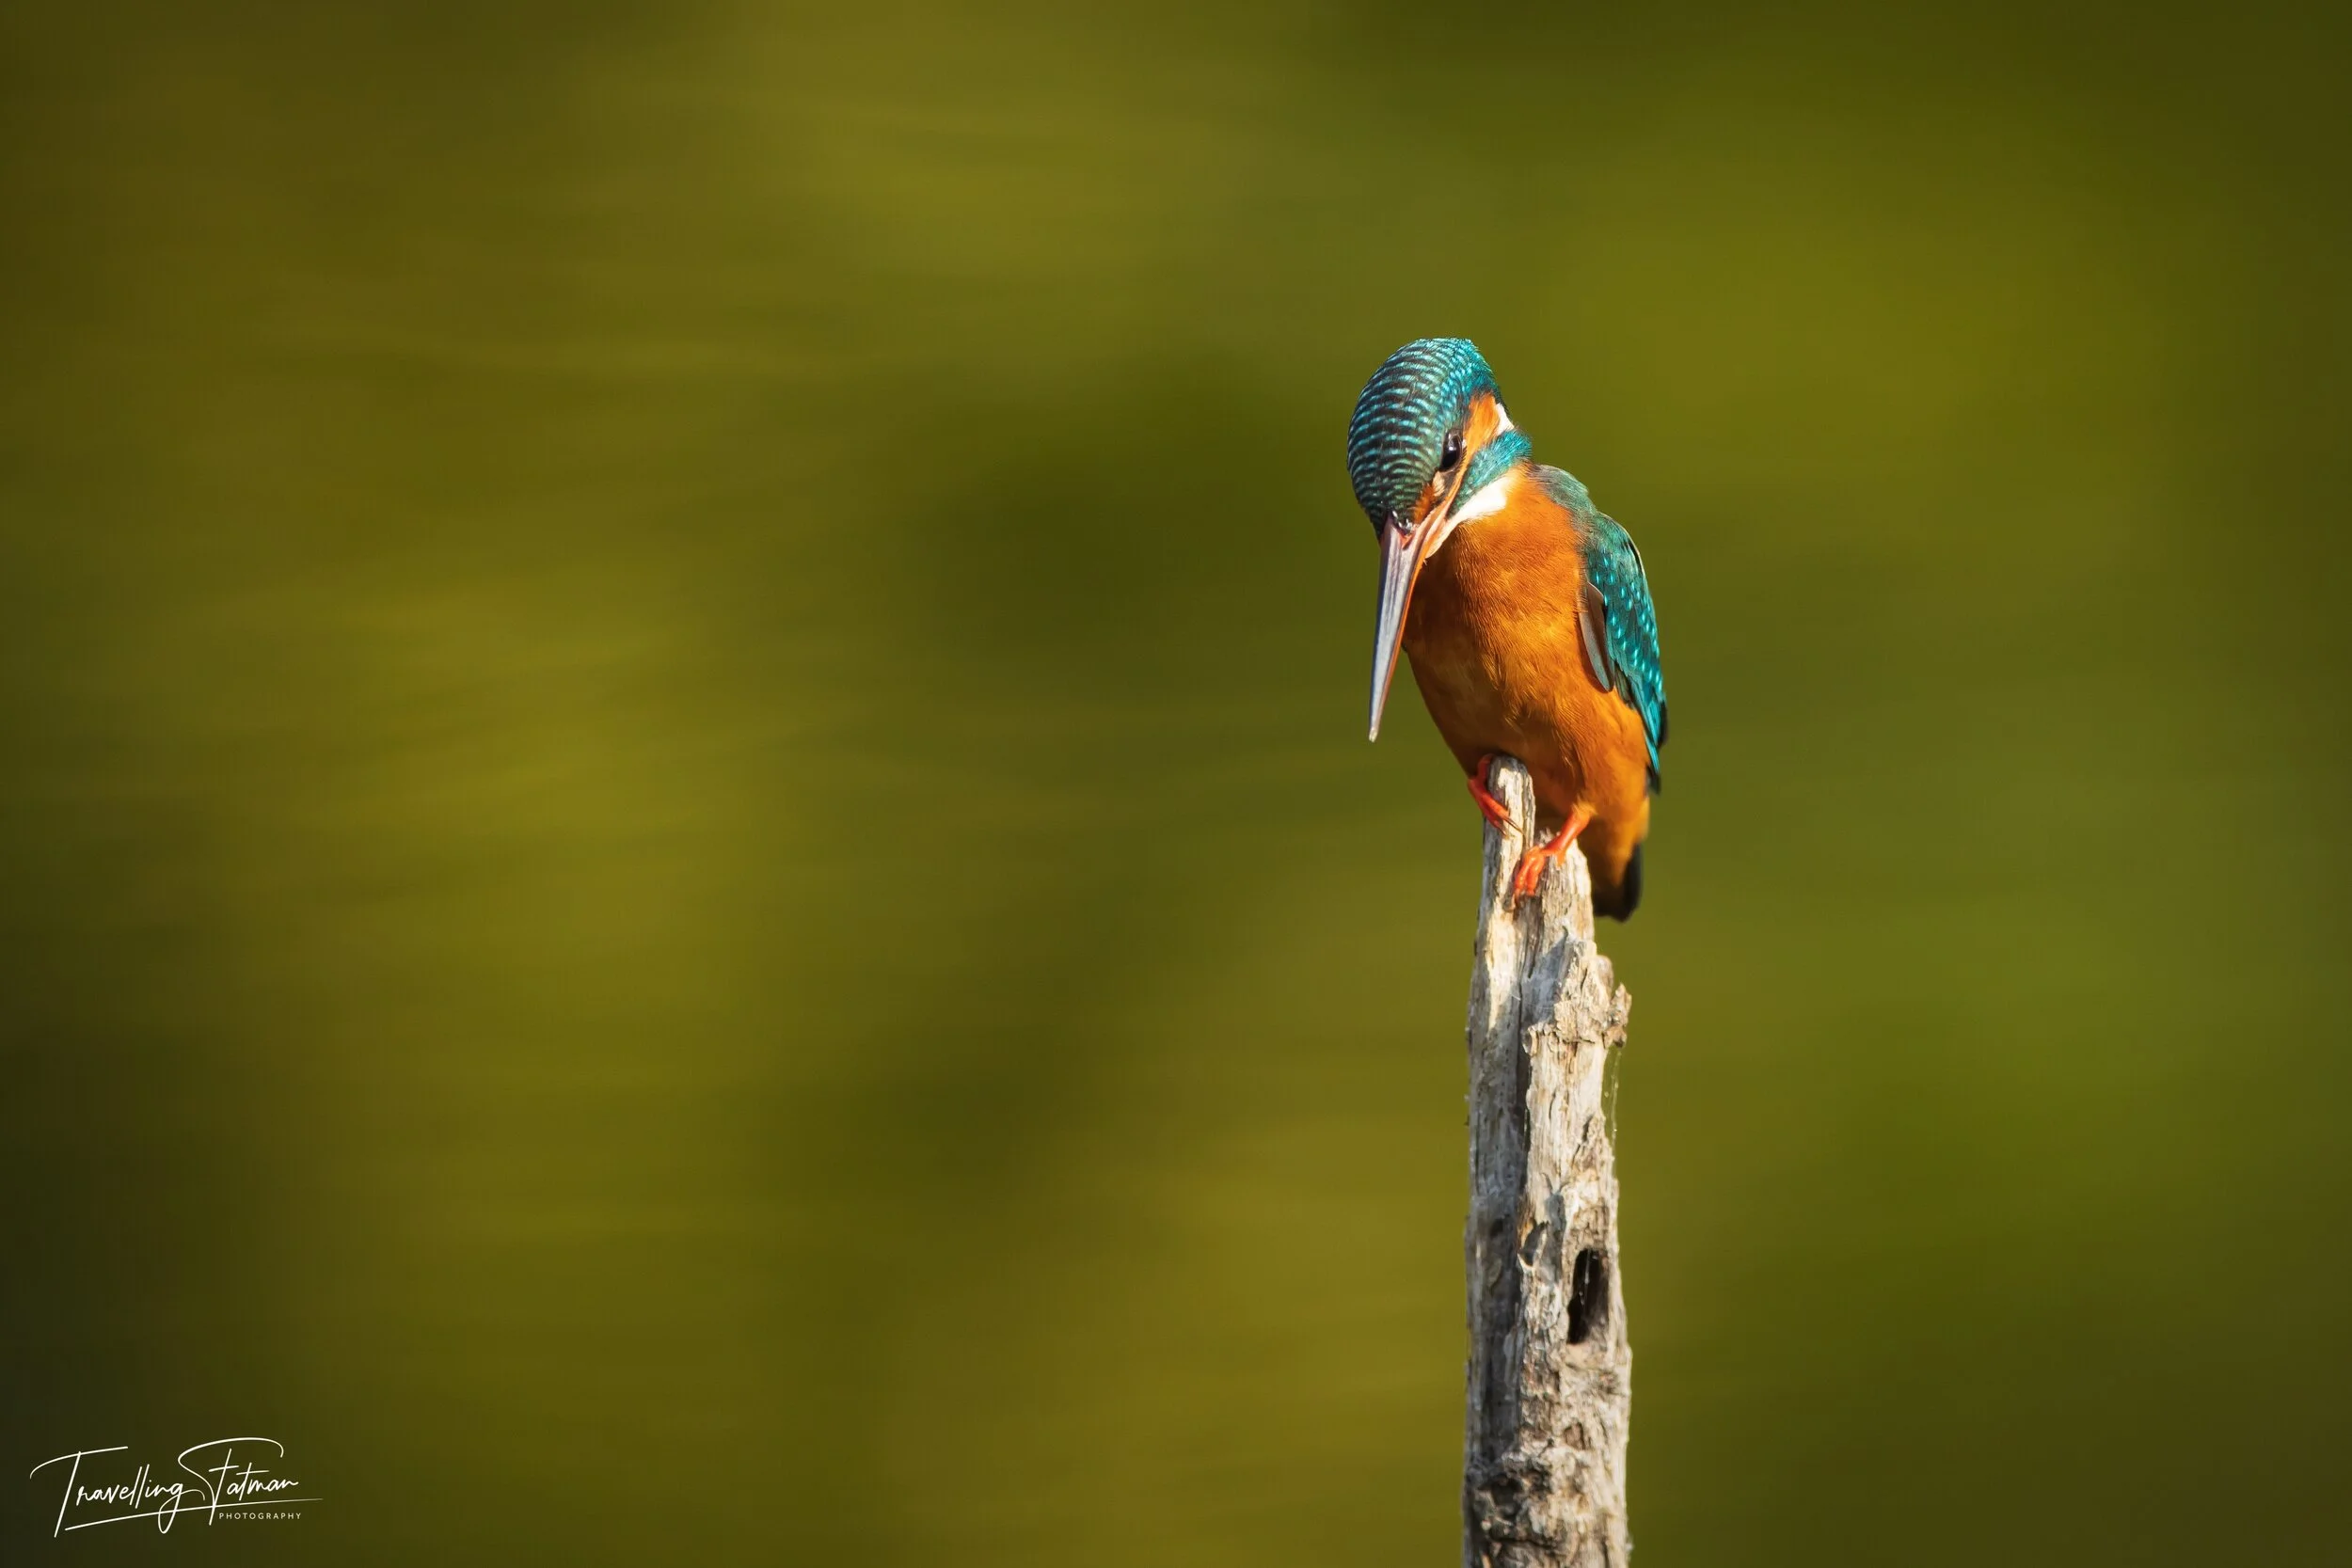
I think it’s a little disappointing that these birds are known as “common” kingfishers when they are so beautiful with their colourful plumage..!
In case anyone is interested in the gear I have to lug around for these shots, here you go…

Not sure what all this weighs. “A bloody ton” is my best guess.

I like this image - but I need to do some editing to remove the spiders web. Annoys me more and more each time I see it. Bloody spiders,

I’ll finish with this shot of this beautiful bird…
As always, thanks for looking and hope you enjoyed this little blog. Sadly it seems as if these birds won’t be back in town until the later part of the year - hopefully we are all back to a greater degree of normality by then.
In the meantime, stay strong, stay safe, be kind!
Fatman xxx